 I think this is a super great new release from THE EAST WIND , who does not love that frst cup of the day, I would hate to be without mine, I turn into a right diva when deprived!
RECIPE
Image called Lucy Loo Morning coffee, coloured with Copics
DP's are all First Edition (just drooling over them)
Arrow a Tim Holtz die cut
Friend sentiment, greeting, paper flower and resin rose from stash

Wednesday, 18 June 2014
Lucy Loo 'Morning Coffee'
I think this is a super great new release from THE EAST WIND , who does not love that frst cup of the day, I would hate to be without mine, I turn into a right diva when deprived!
RECIPE
Image called Lucy Loo Morning coffee, coloured with Copics
DP's are all First Edition (just drooling over them)
Arrow a Tim Holtz die cut
Friend sentiment, greeting, paper flower and resin rose from stash

 I have been involved in Art in some form or other most of my working life. I worked in the Art Room at Denby Pottery for 17 years painting table and giftware. I later moved into retail,
Monday, 16 June 2014
New Release ~ Lucy Loo Morning Coffee

WooHoo! Bonnie here today. It's Monday morning and that means that there is a new TEW image released at The East Wind and featured on our Facebook page. This one is called Lucy Loo Morning Coffee and as soon as I saw her I knew I had to play with this image. Molly (my cat) and I love our morning coffee. Molly loves it because while I am sipping and waking up she gets lots of attention and cuddles. I love it because ...it's coffee! Mmmm...that first cup in my favourite mug.

I coloured Lucy Loo and her feline friend with Prismacolor pencils and fussy cut her leaving a narrow white border. She was then matted with a narrow black border for contrast and to tie the image in with the background colour. Foam tape was applied to the back of the image to create dimension and shadow.

The background is a simple piece of black cardstock scored and cut to create a center step card. There are many tutorials on how to create this simple fold. The one I used is here. The coffee papers were purchased from Poppy Dreamz and were sized and cut to fit the three upper sections of the card. They were also edged with Black Soot Distress ink.

Thanks for visiting today. Be sure to check out our Facebook group for the creations using this image by some of my talented teamies. We'd love to see your creations with Lucy Loo Morning Coffee, too.
Bonnie
 I am an avid paper crafter, stamper, mixed media enthusiast, and art journaler. I love altering books, boxes, tins, anything that stays still long enough. I have a passion for learning, and for sharing what I learn with others. I live in a small town in mid western Ontario with my husband and crazy cats:) Or is that the other way around? Hmm.
Saturday, 14 June 2014
Choose to shine
I wanted to participate showcase of Bling challenge,
so I made this decorative piece with Lucy Loo 'Rose'
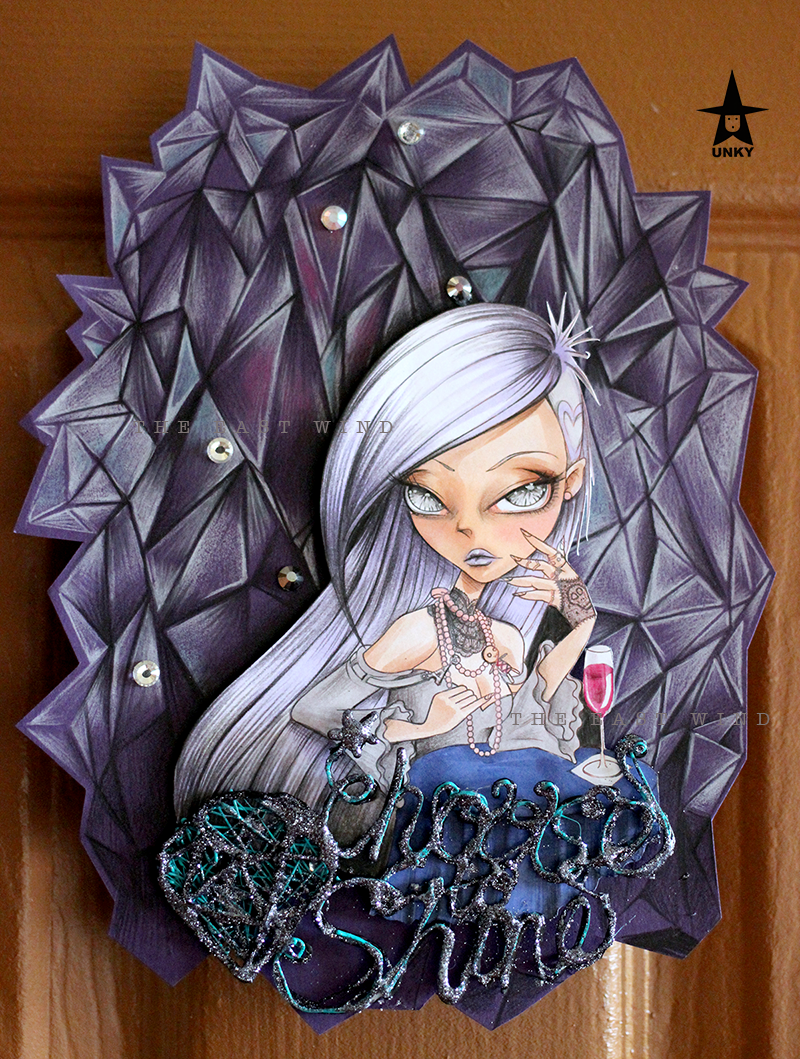
Background is just coloured by colour pencils
meant to have some effect of Sparkly crystal gemstones.
and I used 3Doodler to make a sentiment " Choose to Shine " then I put some Mod Podge and stick some glitters ^^
I know It is not easiest to read ^^;;
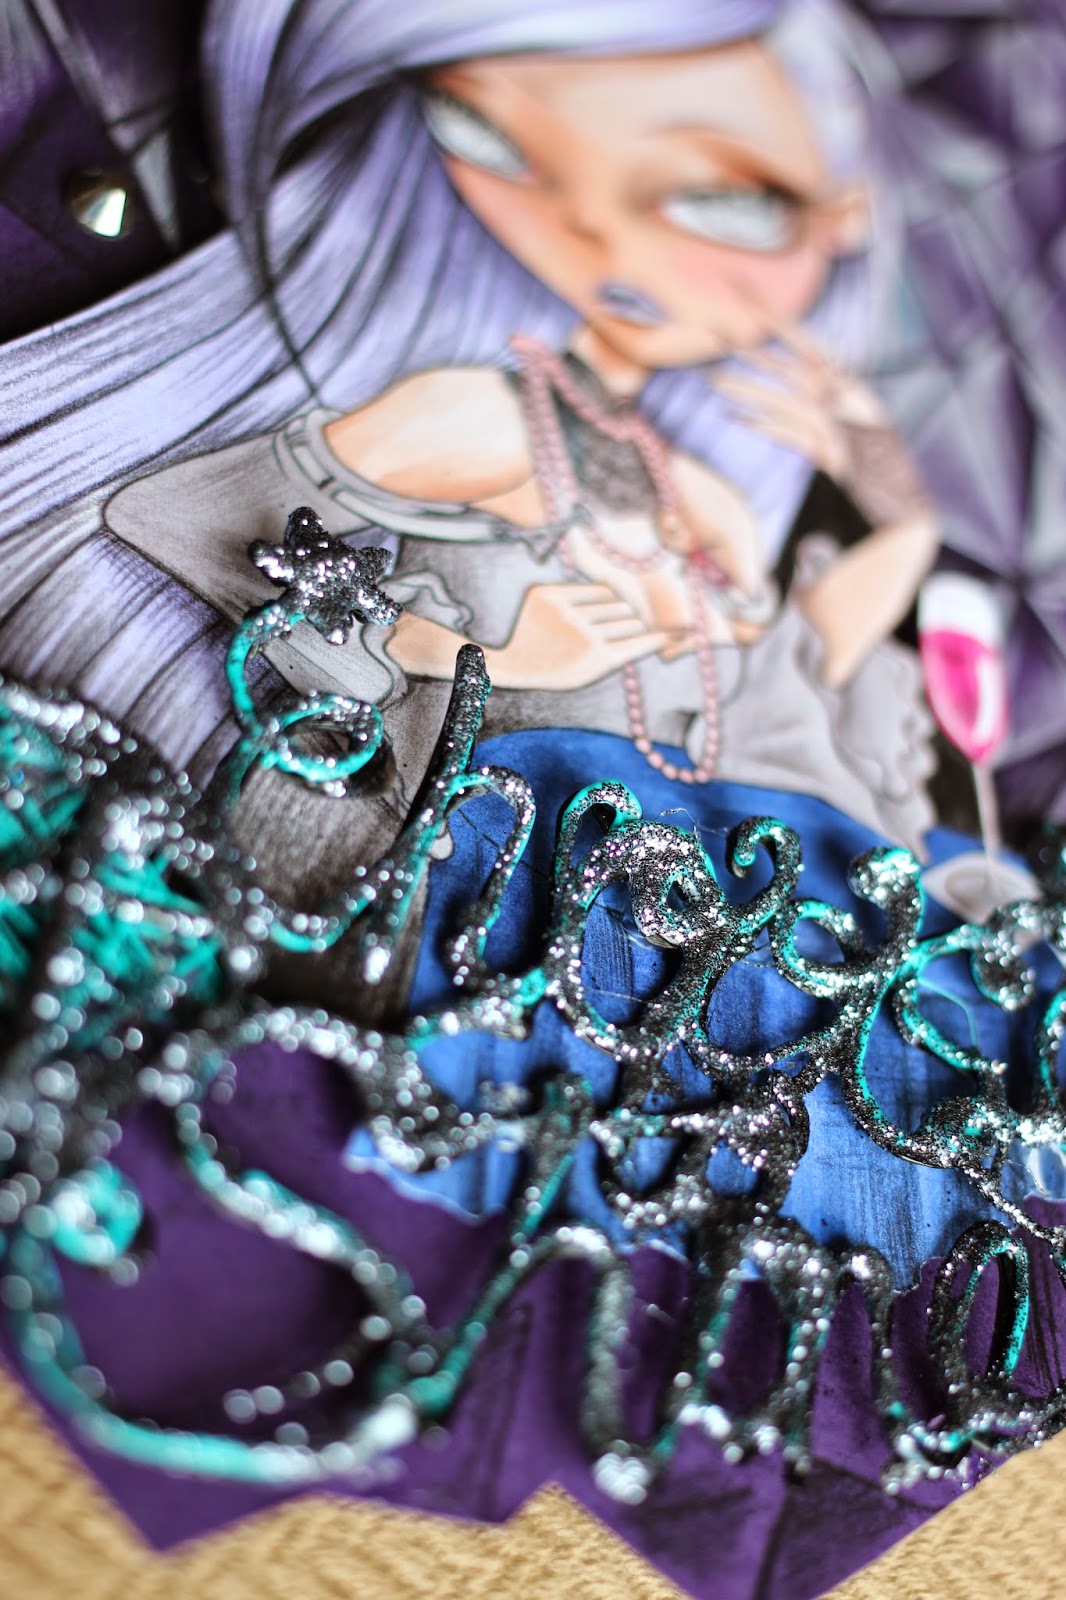
I think once we choose to shine, we will shine.
Thank you. ^^
Just joined one challenge Just for fun ^^
Friday, 13 June 2014
Crafting Vicky - Lucy Loo style I love you
Hello everyone it's Friday Woohooo! It's Crafting Vicky here with you and I'm sharing the card that I made with the new release of last Friday. It was a Lucy Loo! You know by now how much I adore those!!!
This one is called Lucy Loo style I love you.
 So I had fun!
 The paper that I used for this card is from DCWV - Premium paper pack. I used my Label 11 die from Spellbinder. I added a few bling and that's it!

Have a great crafting day!!!
Hugs
This one is called Lucy Loo style I love you.
Here's a closer look at the fab digi that I colored with my copics. I used a great sentiment that I thought represented her very well. I edged the sentiment with some Picked raspberry distress ink.
Isn't she just fabulous?! You really should check out the new digis!!!
Hugs
 I'm a mother of 4 great kids. I have an amazing husband who understand that in order to keep my sanity through all this I need to craft ;)
Thursday, 12 June 2014
Lucy Loo Magnified Star and Dimensional Star Tutorial


This pretty much works for any symmetric star shape die cut. I've used Spellbinders here.

After cutting and embossing with my Grand Caliber, I turned it over and began scoring from the indentation to the point.

Do this all the way around the star, making sure all the scores meet in the center.

Turn star over and use your bone folder to make a sharp crease on all the fold lines.

Then pinch between the long scores to invert the short ones to valley folds.

Here's the finished dimensional star. Easy Peasy!

They can even be layered for a multi dimensional affect. I hope this inspires you to makes some dimensional stars of your own.

They're just perfect to use with Lucy Loo 'Magnified Star'.
 I've always loved crafting, even as a little girl. My inspiration was my Daddy who was a wonderful artist and made beautiful 3-D Valentines for my teachers in grade school. Although I love all kinds of crafts I haven't had a real focus since abandoning counted cross stitch back in the 80's. Until I got my Cricut in 2008, that is. I've since expanded my horizons and found a new love in coloring both rubber and digi stamps with my Copics. Now I'm a blissfully retired card maker and paper crafter married 46 (!) years to a wonderful guy with two furbabies, Goliath (RIP) and Jezebel. Everyday I look forward to dreaming up designs and playing in my craft room. I invite you to share in my adventures.
Subscribe to:
Posts (Atom)